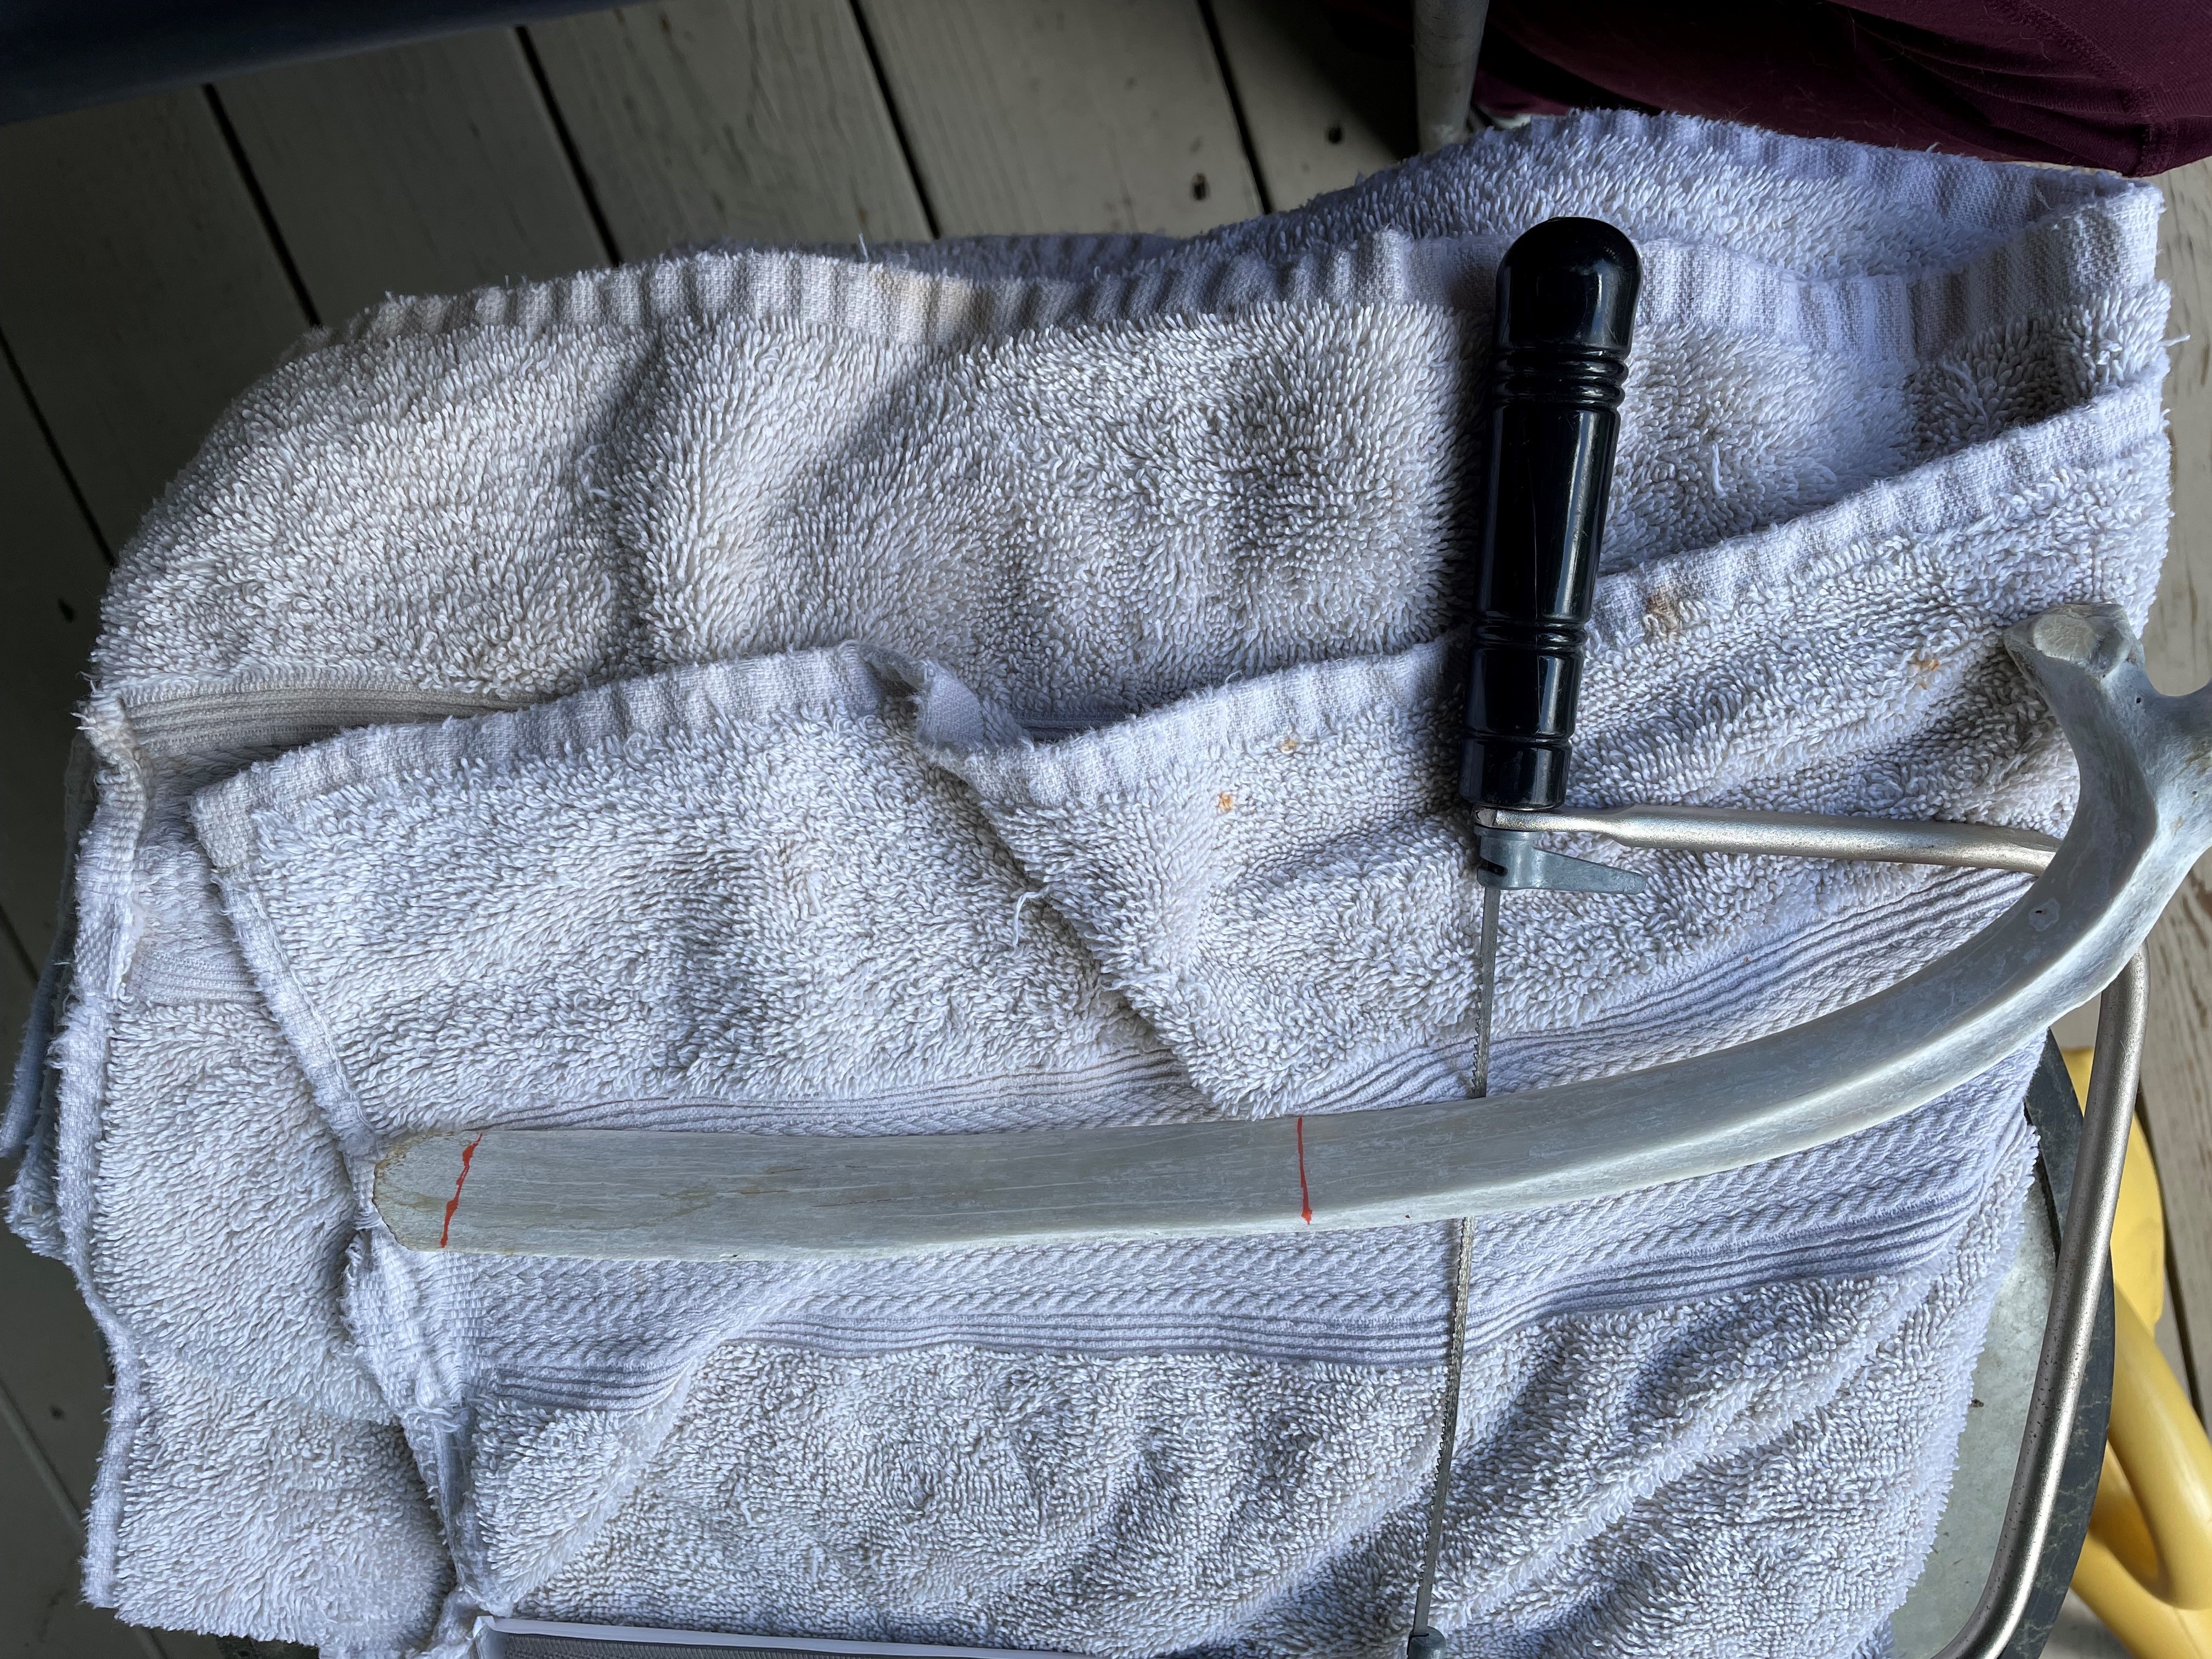
I finally got the courage to start bone carving. I measured out a piece that was long and thin, and marked it on either end to show where to cut.
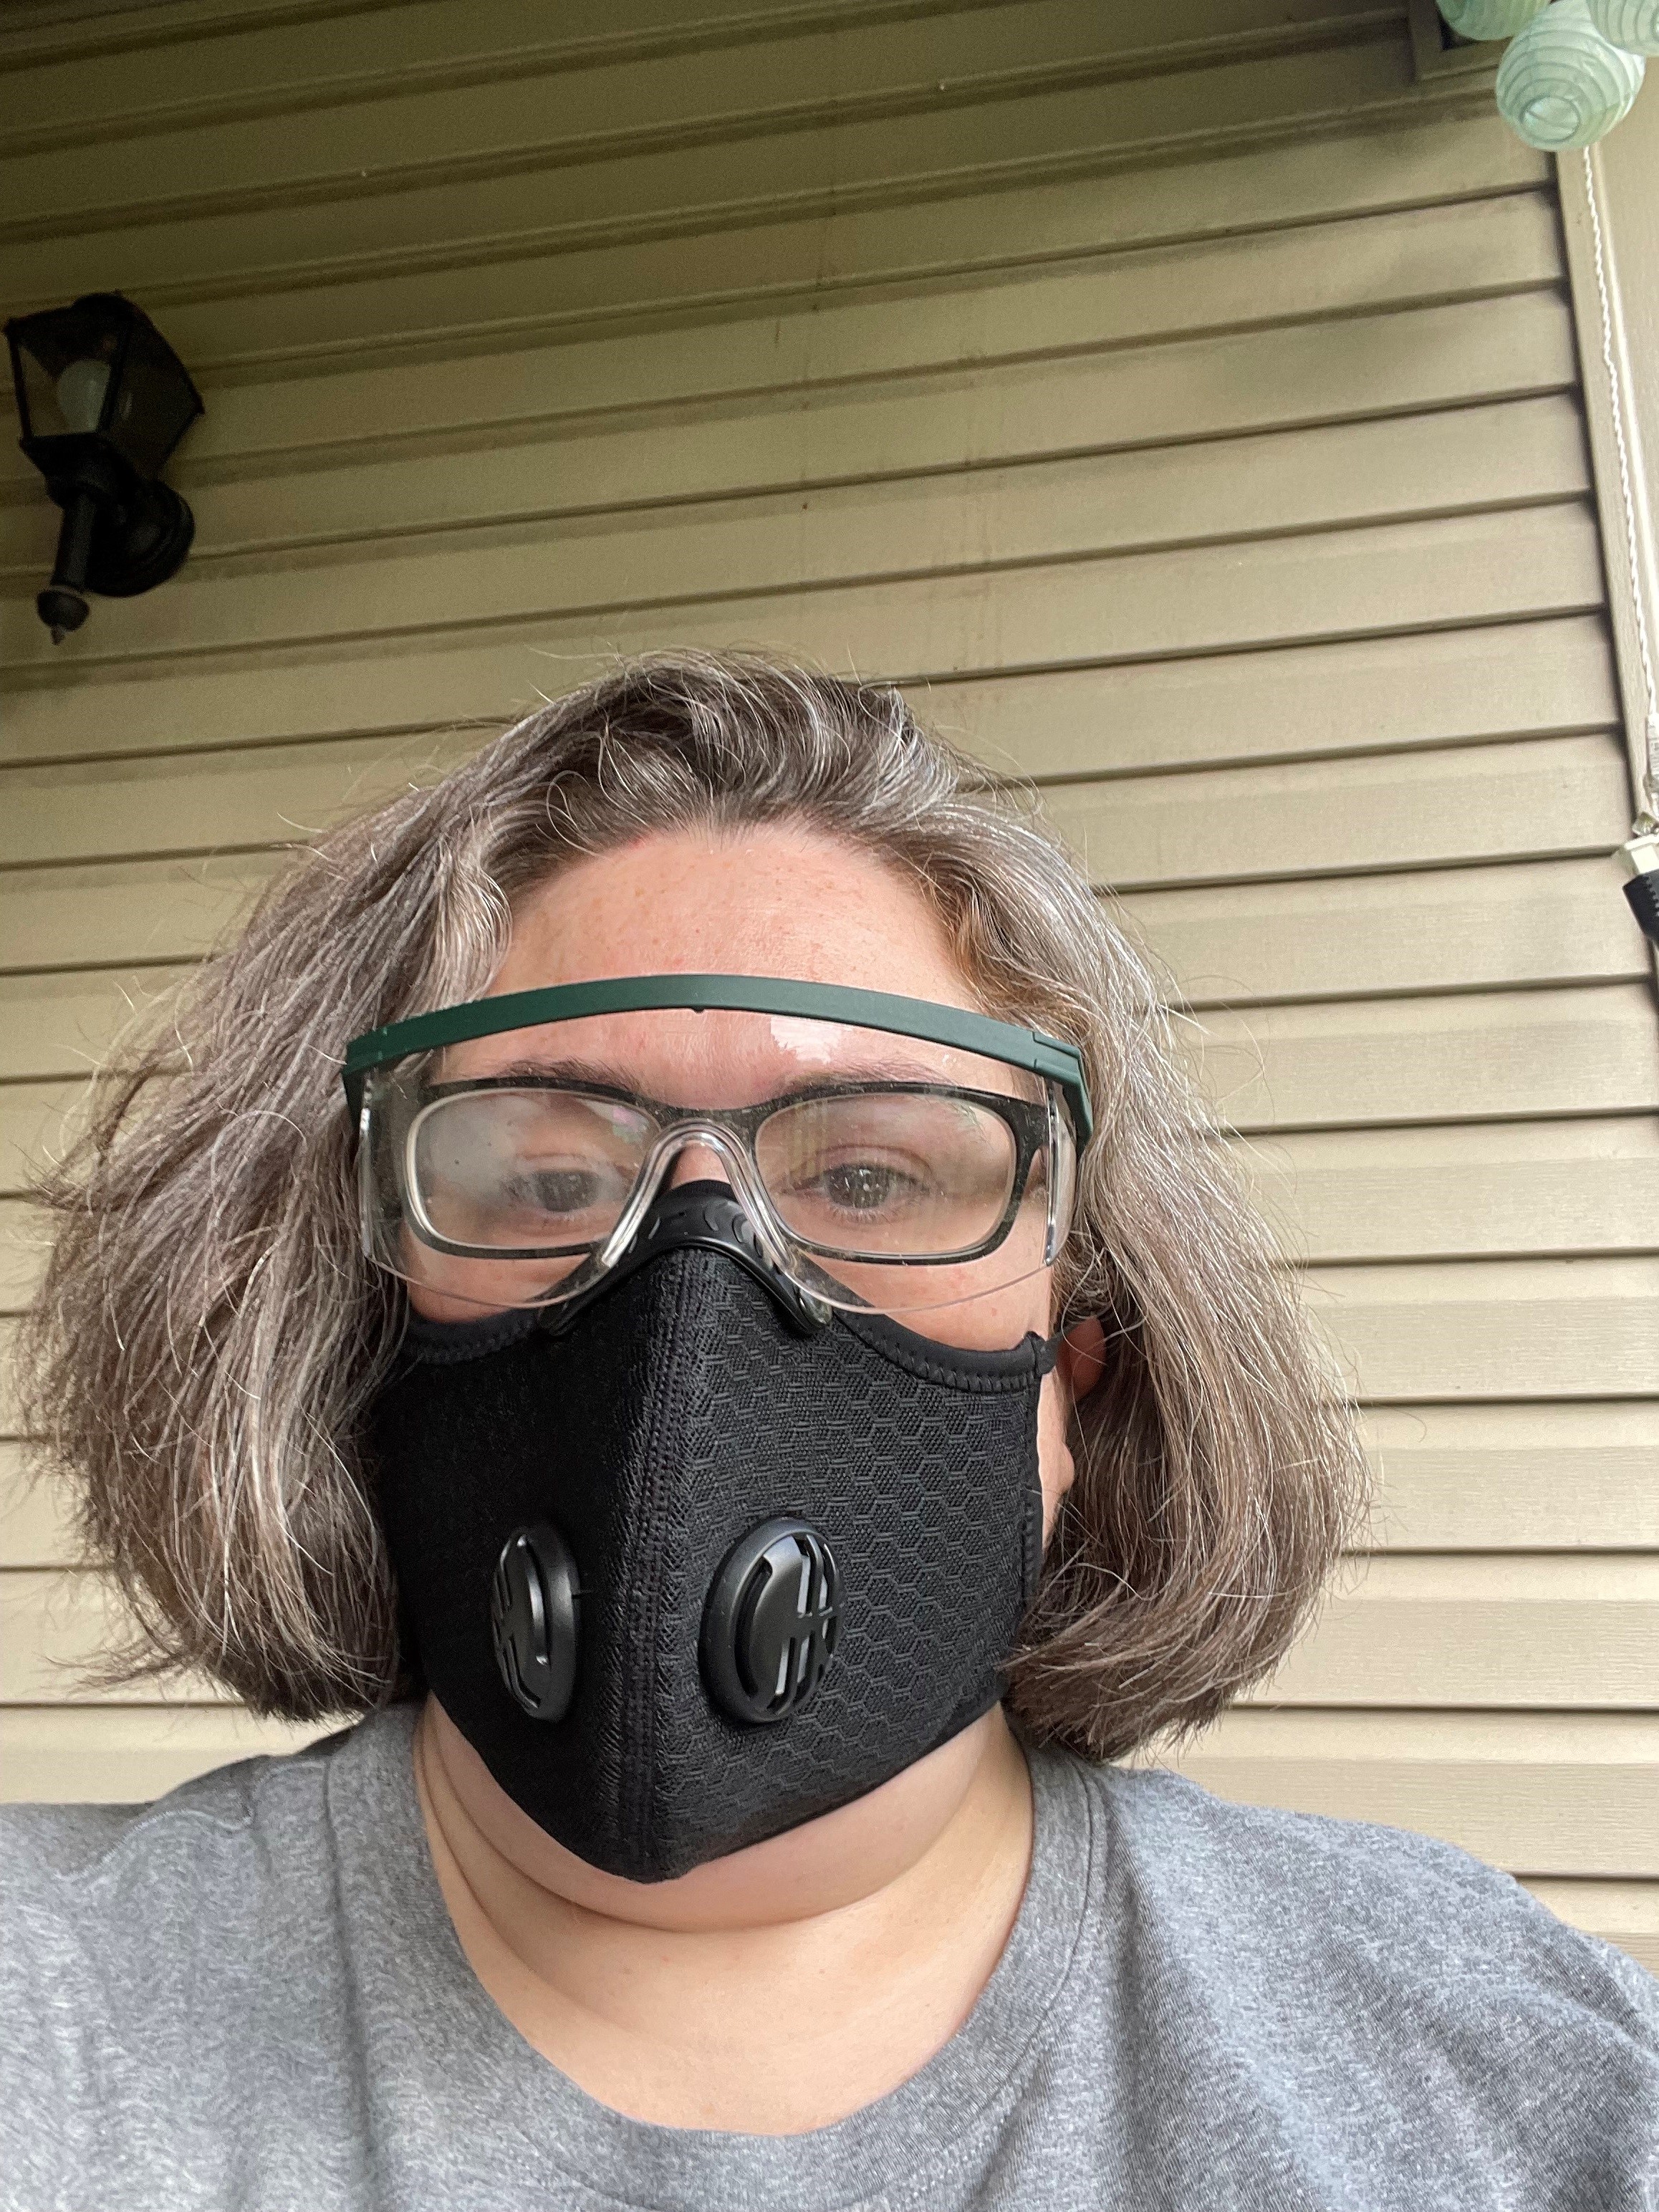
I donned my protective gear…
And started sawing. 3/4 through the bone, I broke the hacksaw. Boo.
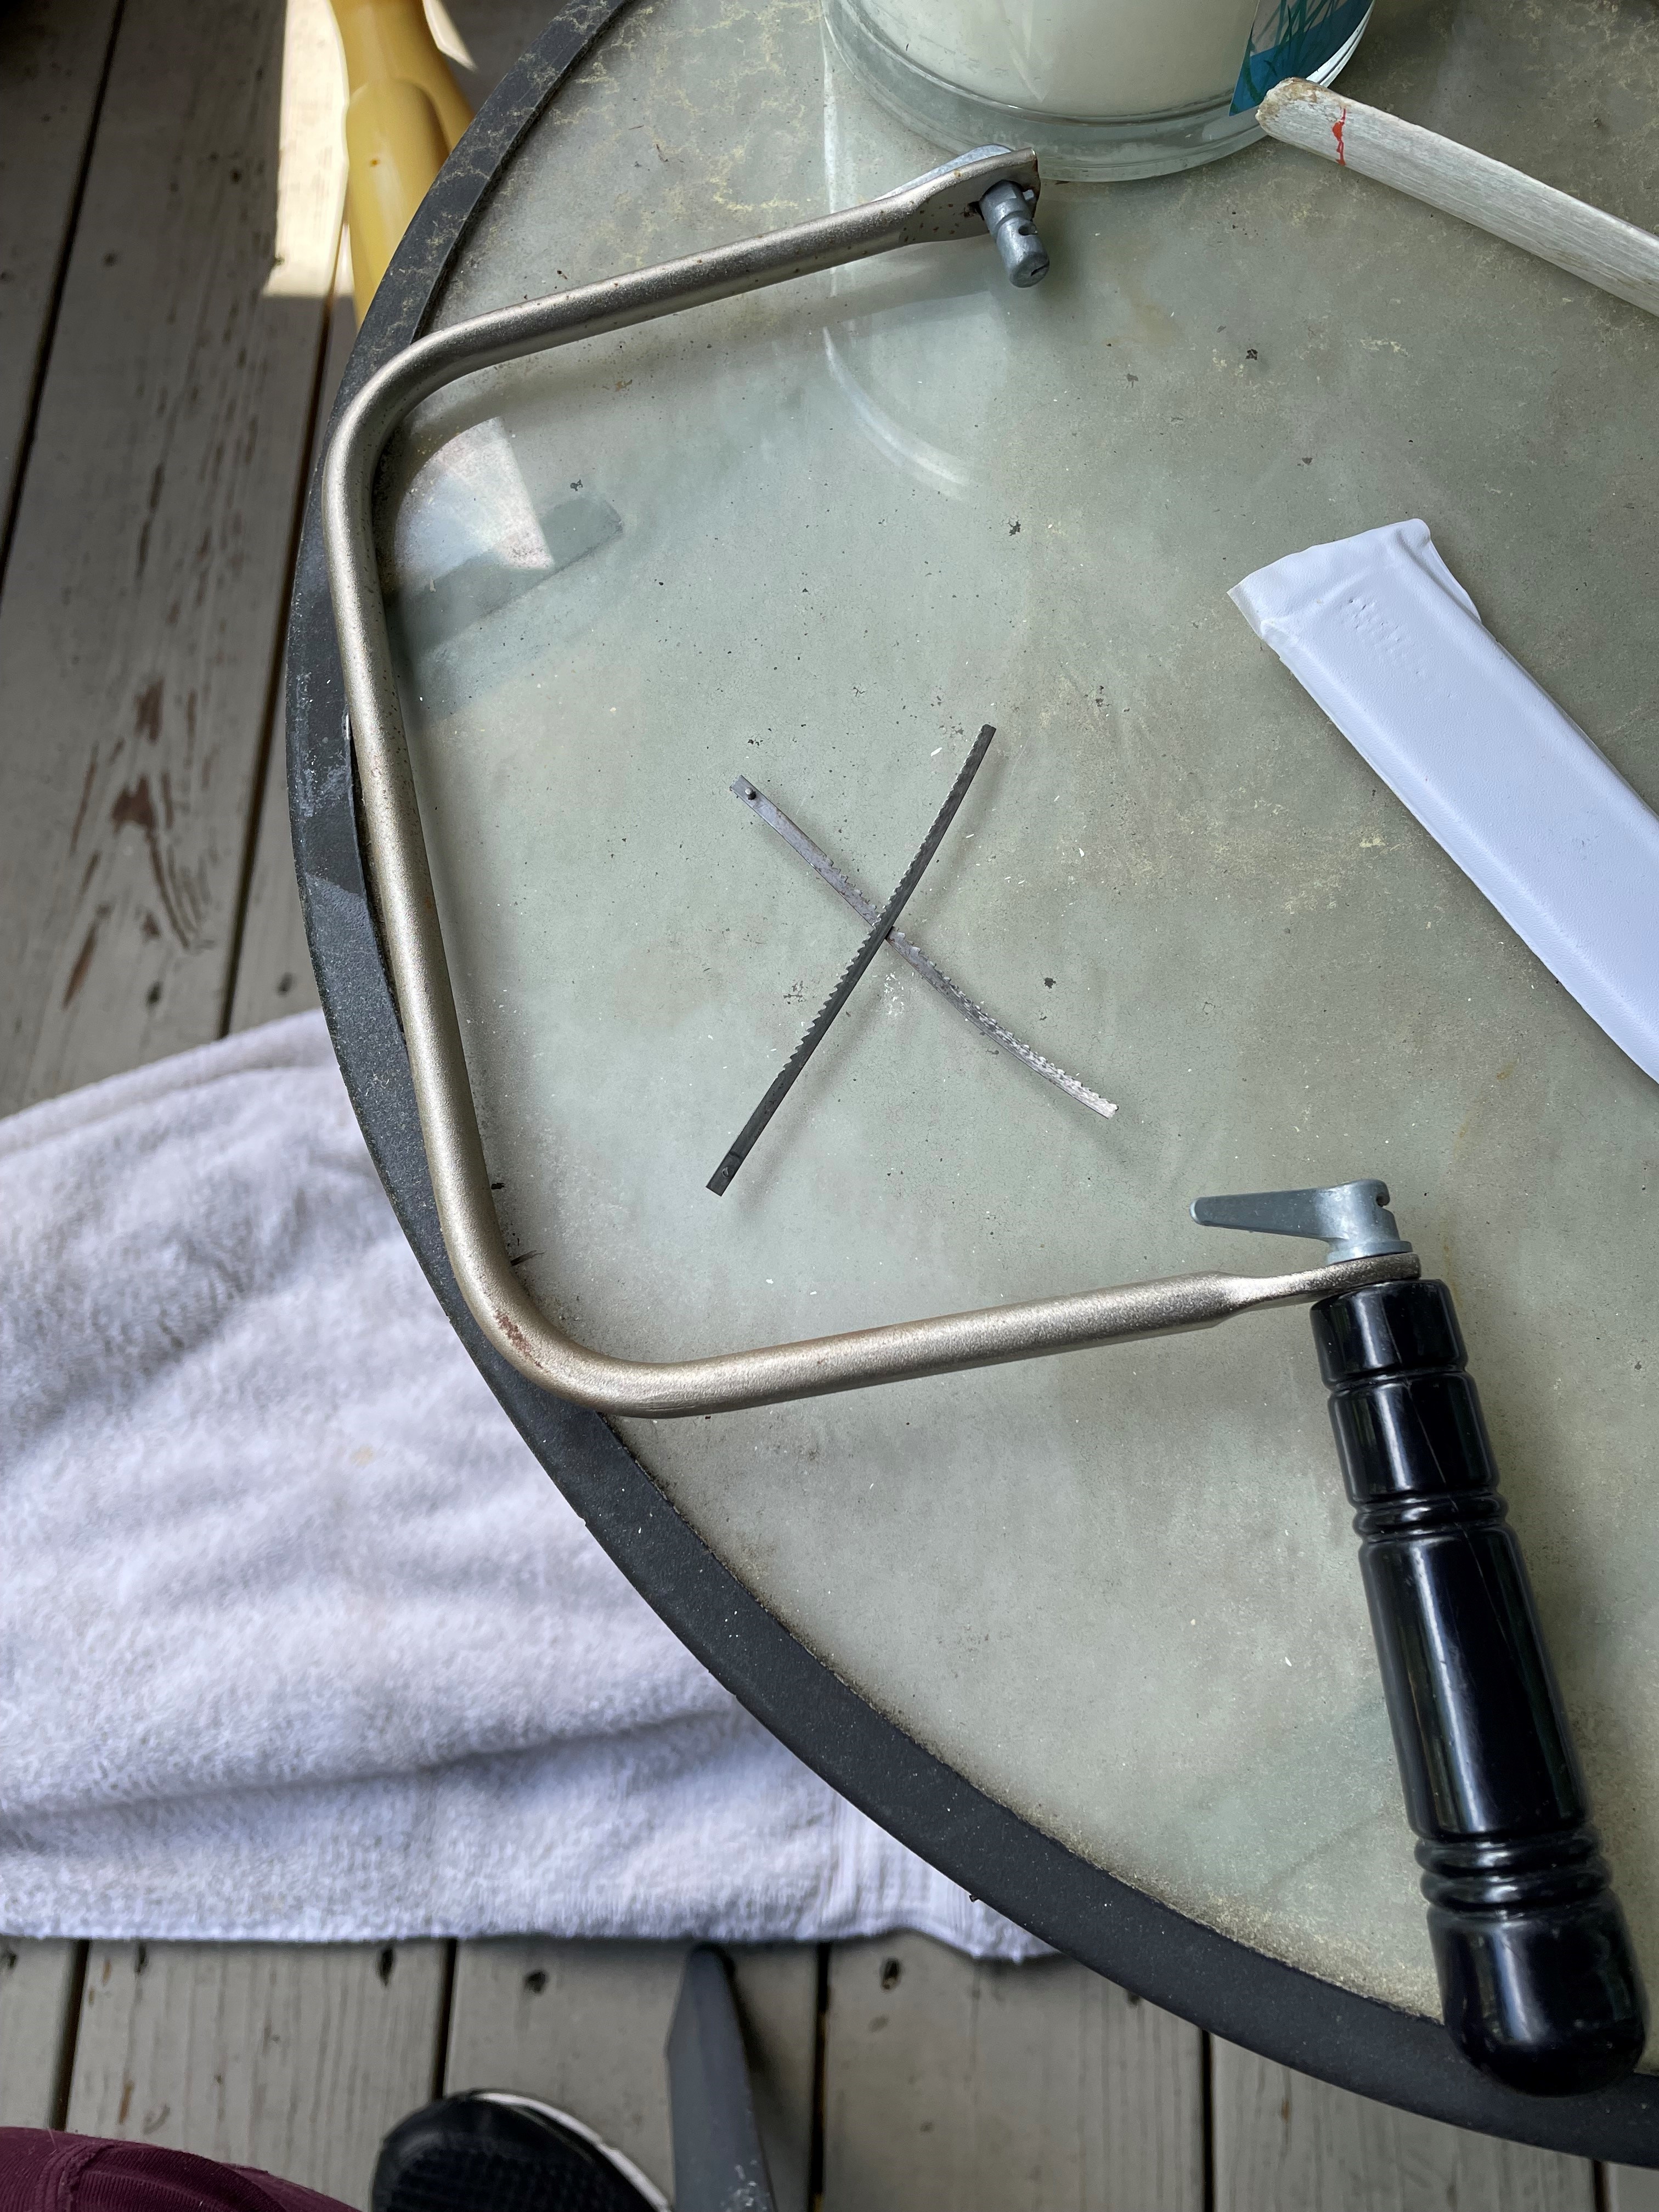
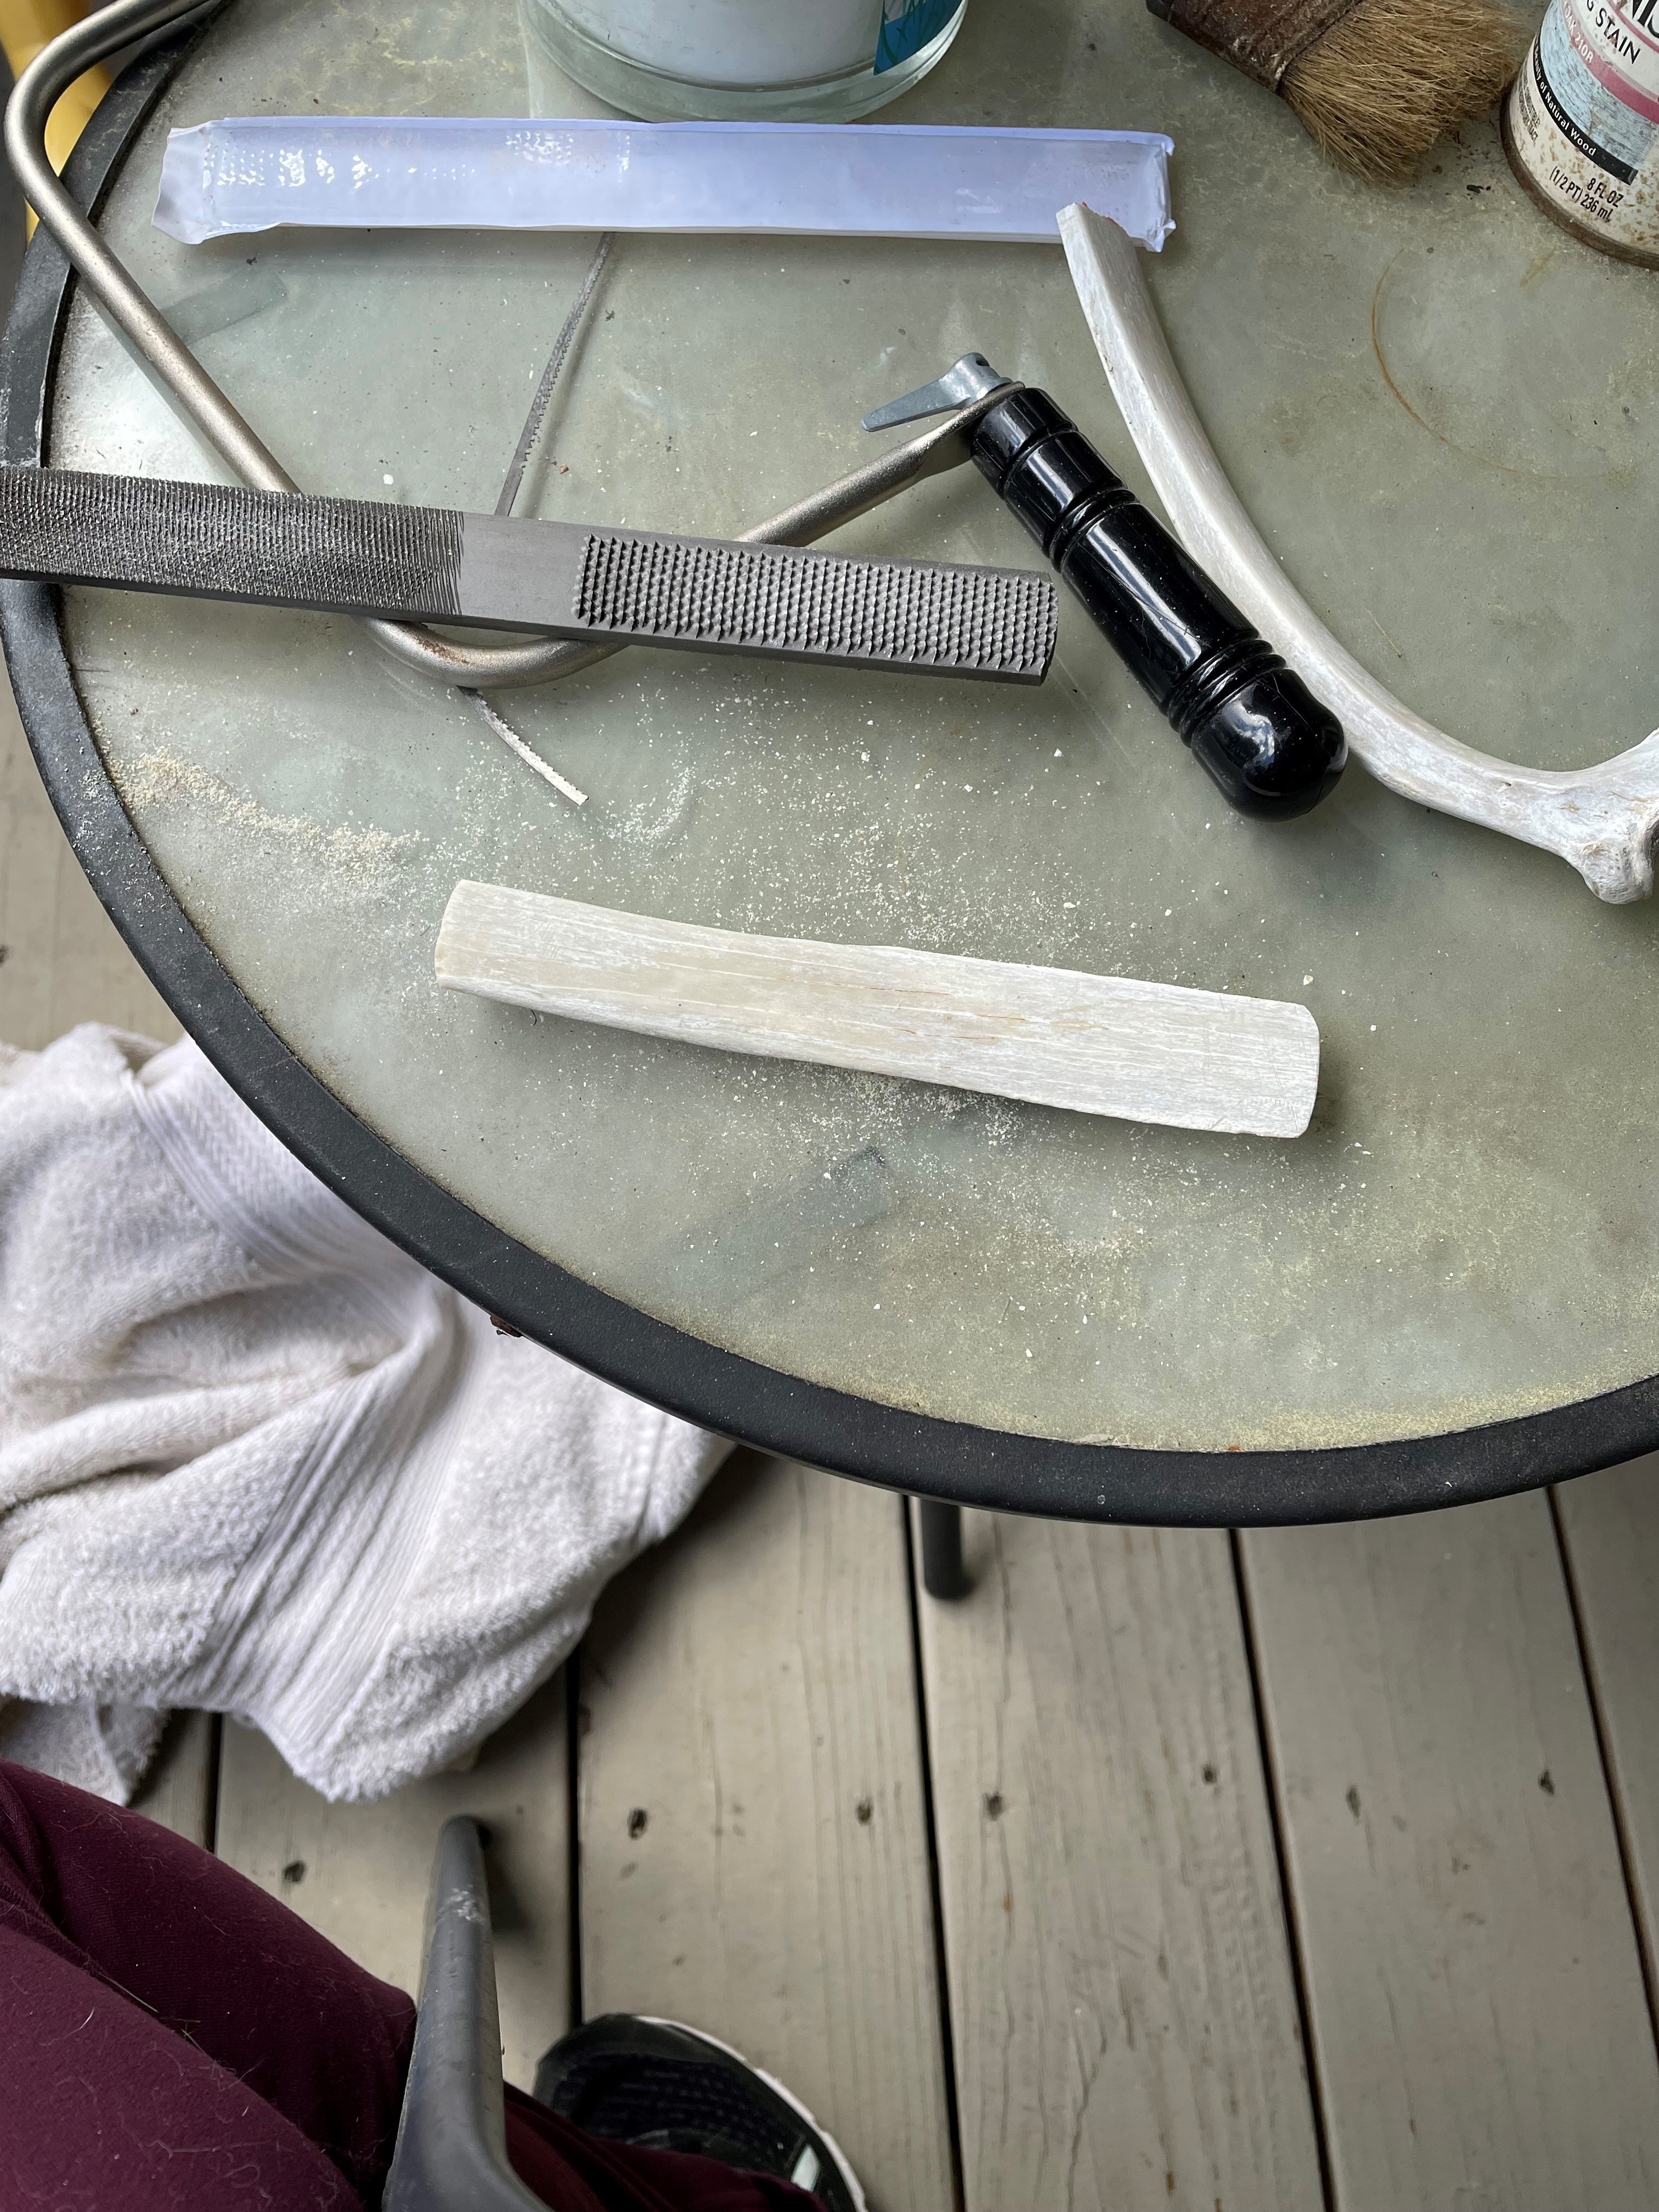
Luckily, I had gotten through enough of the bone that I was able to snap it in half. I then proceeded to use a file to smooth the ends. The plan was to cut the rounded end off as well, but since I had no saw, I filed it down instead. It didn’t take that long, and I am happy with the result. And bonus, my FitBit counted the activity as exercise.
While I was working, I thought about what tools the Ancient Chinese would have used. I will spend June working on carving a simple design (as of yet undecided) and researching tools, especially tools used for drilling, as eventually, I will need to drill holes for bristles. I will admit, I am looking forward to the research much more than the actual carving.
I also need a different work surface, one that is higher up. I think I have a folding table that will work. It is small enough that I can move around the deck easily, high enough that I don’t strain my back while working, and long enough that I have room to lay out all my tools.
Next Steps
- Find a design to carve.
- Carve design.
- Research tools and adhesives.
- Write a blog comparing ancient and modern tools.
- Make adhesives.
- Write a blog post about adhesives.
- Research and purchase bristle materials.
- Write a blog post about bristle materials.
- Make toothbrushes.
- Use toothbrushes.
- Write a blog post with results.